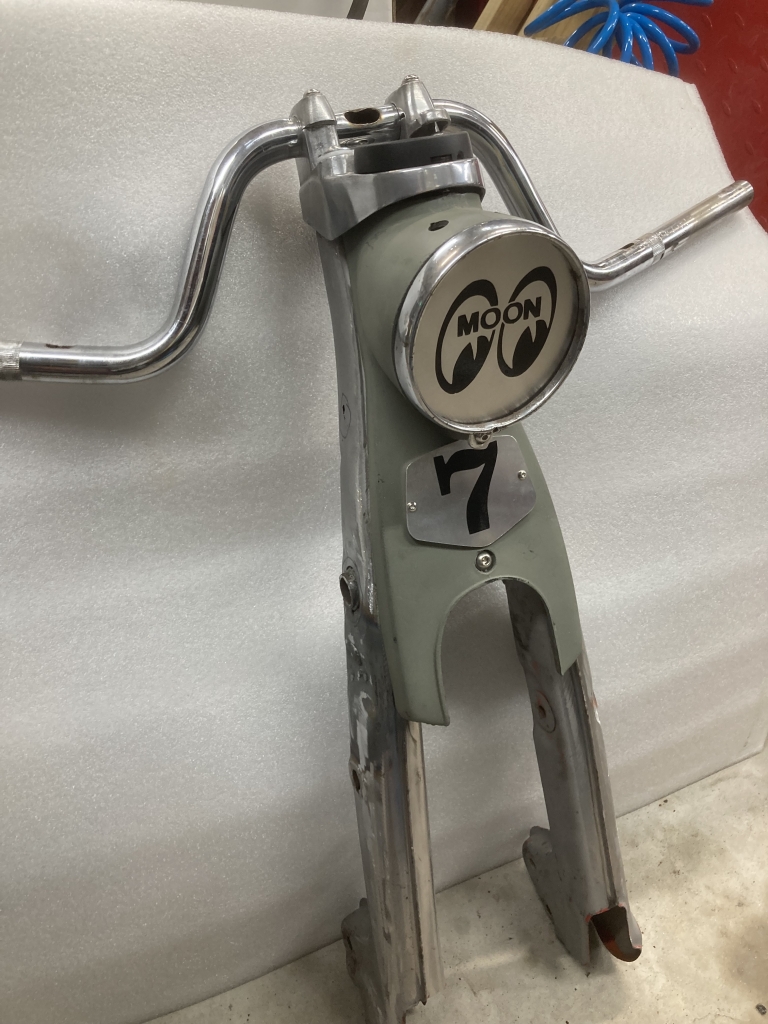
Yet another motorcycle project is in the house. The “Iron Krush” CT70 is done as well as the “Caliber 90” (Updates to the pages coming soon), but this one followed me home and the idea is there on how to build this rescue.
The home of Protowrxs…

Yet another motorcycle project is in the house. The “Iron Krush” CT70 is done as well as the “Caliber 90” (Updates to the pages coming soon), but this one followed me home and the idea is there on how to build this rescue.
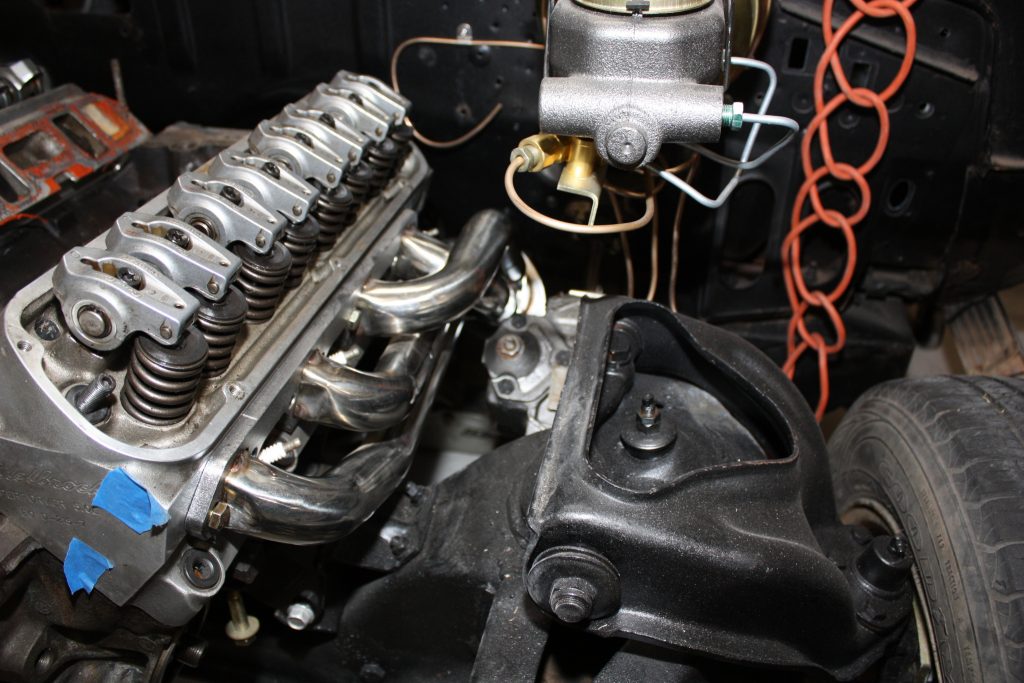
I obviously bounce between project to project, hobby to hobby, and wander around between other interests. Personally, I’m good with that, as I enjoy every day I have on this planet to do those things. My latest wander is back to the ’66 Galaxie.
This was partly driven by finally moving my toolbox from the garage to the shop and putting it where the engine stand was for this block, heads, etc, but also driven by the need to get the Galaxie moving along this year.
I was at the point that I needed to get something in the car to check some fitments, work out the hold location for the shifter, and finalize the hydraulic clutch setup, so an empty block and the recently cleaned up WC T5 were dropped into the car for now.
A bit more can be read here:
01/15/2021 – Heater Update / Clutch Slave / Block and Mock
I’ve had RGB light strings running around the house integrated into Home Assistant and stand alone for a few years, but they all ran my own code. That’s good and bad. The good is I can add whatever effects and control I like, the bad is I’m not very good at creating effects so I just use what’s out there. The other bad is how the lights start up and some bugs in my code that are hard to track down. Enter WLED…
Dee, a friend of mine was wanting to do his own holiday lights and told me about WLED, an open source ESP8266 based RGB or RGBW package, that is easy to setup, easy to use, and easy to control effects via an http API. The only down side was initially I didn’t know how to API worked and was kind of stuck with using only the web interface to setup schedules, etc.
However, once I dug into the http API, I could see how I could more easily control the lighting and scheduling from my own methods. In my case, this is via a PHP page that gets called at sunset, but it could easily be a Python script or anything else that can be run to make calls to the API.
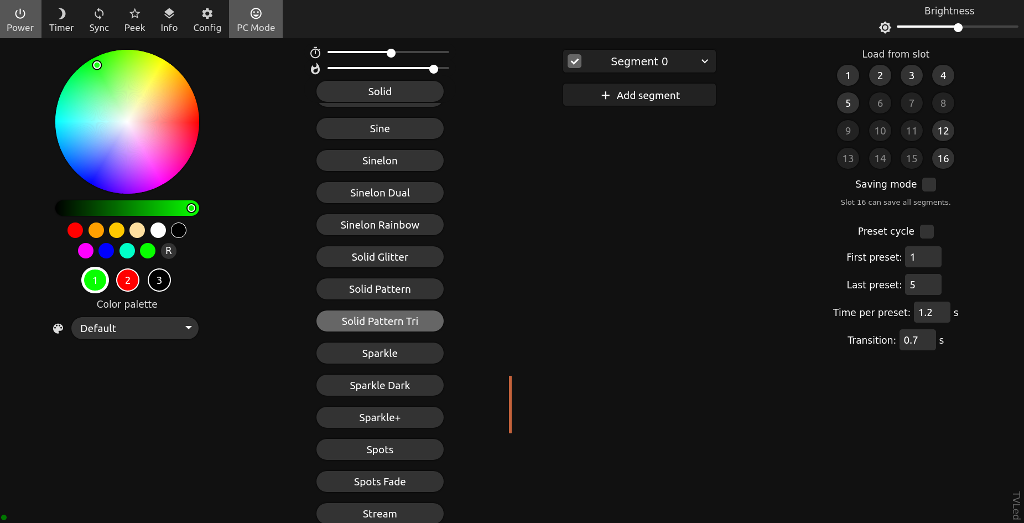
The WLED interface is actually quite good allowing color, effects, effect cycling, and favorite setups to be saved. In PC Mode like above, one can get to the core controls, in normal mode one can get to all the menus, including WiFi, LED, syncs, user settings, time, etc.
Once the various locations were installed including the front door, portal window, under the eave run, and a couple inside strands or strings, I moved to getting things setup to allow custom effects, colors, etc for holidays, or just a low key spot light effect for all other times.
I have Home Assistant make a call to my PHP code at sunset every night. This allows lights to come on at the appropriate time each day. Again, this code is in PHP, but Python could be used just as easily. A lot of this could also be done in Home Assistant I’m sure, BUT I liked my freedom to code in PHP or other languages.
First I need to explain the postWLED function. I initially was using the normal PHP get_file_contents() function but having huge delays making the WLED calls. No clue why, but decided to use the curl function instead which solved the problem. Not sure why yet but this works so I’m sticking to it. The function just sets up and calls curl to do the http request. In Python the “requests” library should work fine.
// postWLED uses curl to post to WLED - the get_file_contents() function hangs trying to hit the URL but this fails quickly if a device isn't online
function postWLED($myValue)
{
	$url = $myValue;
	$client = curl_init($url);
	curl_setopt($client,CURLOPT_RETURNTRANSFER,true);
	$response = curl_exec($client);
	echo "<BR><a href=$myValue target=_blank>$myValue</a>";
	echo "<BR>$response";
	return $response;
}
In the main code, first I pull the month and day so I can check for any applicable holidays. Next I reset all the strands to preset 16 (&PL=16) and turn of any preset cycle settings (&CY=0). This is the default setting for each string or strand.
// Handle WLED settings for holidays as desired
$curMonth = date('m');
$curDay = date('d');

$HolidayMode = false;

// Reset everything to default 16 values
echo "<br>Setting NON Holiday Mode";
postWLED("http://192.168.xxx.75/win&CY=0&PL=16");
postWLED("http://192.168.xxx.76/win&CY=0&PL=16");
postWLED("http://192.168.xxx.77/win&CY=0&PL=16");
postWLED("http://192.168.xxx.78/win&CY=0&PL=16");
postWLED("http://192.168.xxx.79/win&CY=0&PL=16");
Next are the date comparisons to see what effects or colors we’d like to display. Currently this is done via simple day checks. Next we make the calls to the end points to handle the settings as desired. Below this would come on the 13th and 14th of February each year. One could also use the .local domain option to make the calls such as http://front_holiday_lights.local/win instead if you set the nDNS up under the WiFi settings page. I started out using IPs but could change it when desired. The IP assignments are .75 as the portal but it slaves off the front door of .76, .77 is TV back lighting, .78 is main front eaves, and .79 are the living room string.
// Valentines day
if (($curMonth == 2) AND (($curDay == 13) OR ($curDay == 14)))
{
  postWLED("http://192.168.xxx.77/win&CY=0&FX=88&R=255&G=0&B=0&R2=255&G2=255&B2=255");
  postWLED("http://192.168.xxx.78/win&CY=0&FX=88&R=255&G=0&B=0&R2=255&G2=255&B2=255");
  postWLED("http://192.168.xxx.79/win&CY=0&FX=88&R=255&G=0&B=0&R2=255&G2=255&B2=255");
  $HolidayMode = true;
  $myText = "New Years WLED Settings Applied";
  putHassio("notify.sendgmail",$myText);

}
In the case above, I turn off the preset cycle (&CY=0), set the effect to “Candle” (&FX=88), set the primary color to red and the secondary color to white. A list of all the effects for API calls is documented her (https://github.com/Aircoookie/WLED/wiki/List-of-effects-and-palettes)
For Christmas lights, the time period is obviously longer, and the approach slightly different. With the 16 favorite save options, I use #16 as the default, but have dedicated #12-#15 for Christmas effects that then get cycled through by turning on the preset cycle option (&CY=1). Below is the Christmas light time period. Note the front door (.76) has a shorter cycle. It also has a different effect cycle in the 12-15 favorites. The TV goes to a standard red one side, green the other side to avoid annoying effects behind the TV, and the inside and outside run a 12-15 cycle that are unique to their own settings. Below the Christmas lights run from 11/25 through 12/27.
// Christmas lights starting around Thanksgiving
if (($curMonth == 11) AND ($curDay > 25) OR (($curMonth ==12) AND ($curDay < 27)))
{
  echo "<br>Setting Christmas Mode!";
  postWLED("http://192.168.xxx.76/win&CY=1&P1=12&P2=15&PT=6000");
  postWLED("http://192.168.xxx.77/win&CY=0&PL=12&CY=0");
  postWLED("http://192.168.xxx.78/win&CY=1&P1=12&P2=15&PT=60000");
  postWLED("http://192.168.xxx.79/win&CY=1&P1=12&P2=15&PT=60000");
  $HolidayMode = true;
}
The $HolidayMode variable isn’t used yet, but can be used after the date checks to do some other functions if the lights are in holiday mode, such as turn off the porch light to allow better holiday light viewing.
More information about WLED and the code can be found on the WLED github here: https://github.com/Aircoookie/WLED
Just a update on the CT90 project and some mixing hobbies between motorcycles and 3D printing.
Read more Here
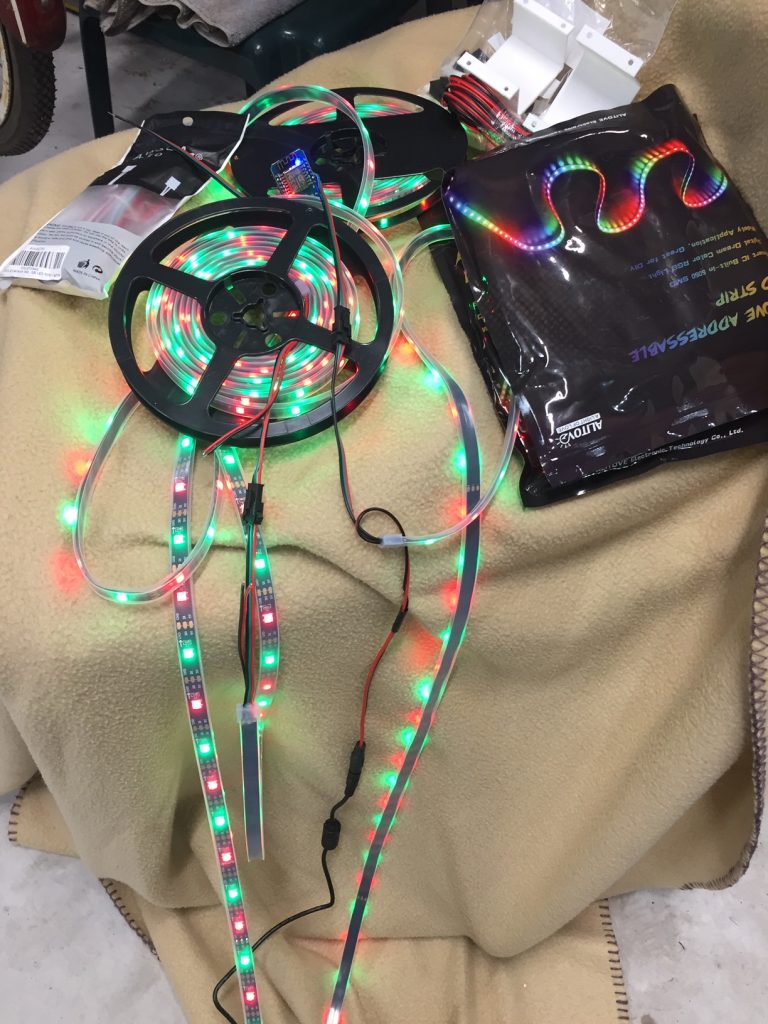
I have a similar setup running on the front door and the “portal” window on the front of the house, but have wanted a permanent “holiday light” install for some time. Recently my friend Dee has been wanting to do the same, so I was once again interested in carrying this project through, in time for Christmas 2020 hopefully. These aren’t “put them up and take them down” lights, as I want to be able to use them year round like others do and light up the house for special dates such as Independence Day, Valentines, Veterans day, etc. Additionally as Dee pointed out, they can be lit up on low white or amber brightness every so many LEDs for a normal outside lighting feature.
The setup is rather simple. WS8312B LED strings driven by a D1 Mini with WLED running on it. I really like to use my own code, and I do have my own code running on our Christmas tree and our grand daughters little house, but WLED is more robust, recovers better, and can stand alone without my Home Assistant home automation system if needed. Dee had found WLED and told me about it and once I tried it I was convinced it was the easiest and best way to go.
WLED is installed and all the parts are now in hand. I estimated I needed at least 20.62 meters of strips for this. Unfortunately the strips come in 5 meter lengths so I’m about .62 meters short that I’ll have to either buy another strip, or find some left overs I have from other projects. Time will tell on that one.
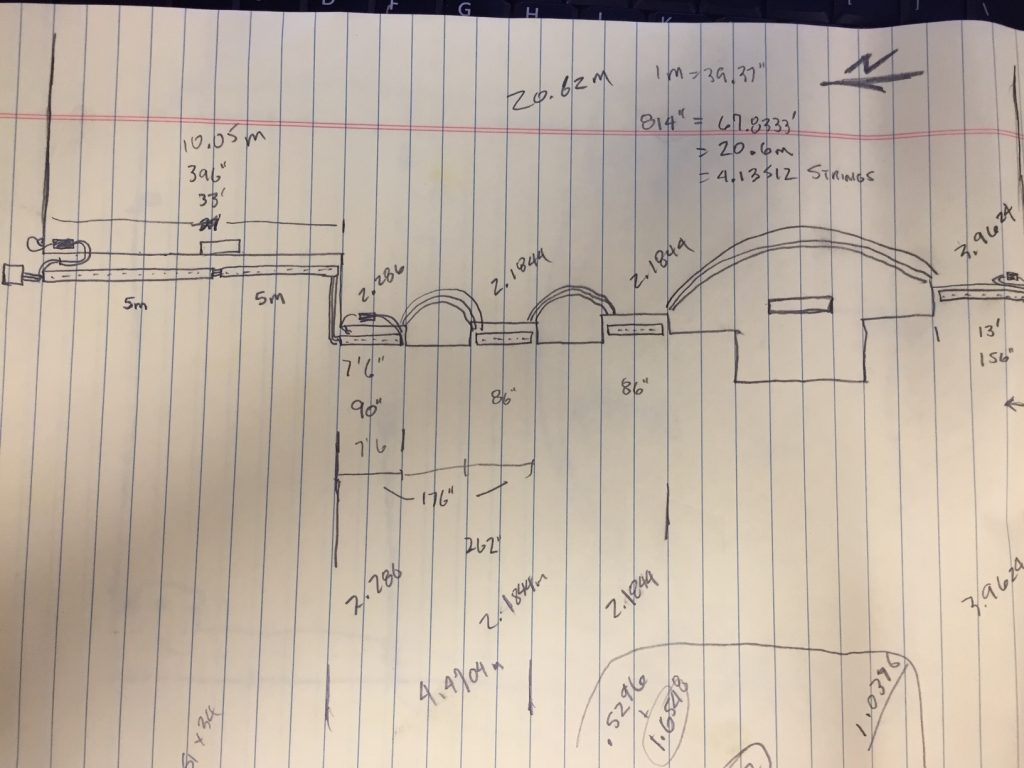
Not the prettiest of plans but it helped to visualize the various breaks I have to make and extensions needed to get across the front of the house. There are larger dormers for each window and the front door that have to be bypassed to get a better across the front look. I am hoping this doesn’t break up the effects too much but that’s how it is.
Originally I had looked at using the bulb type of RGB lights, but they just had that “Christmas lights up year round” feel to them so I moved to the strips. These will be mounted up under the eaves, facing towards the house for more of an under glow appearance. Hopefully it will look like I want it to. The down side is these are hard to find in any affordable 12v versions, so I reverted back to 5v versions. With 5 volts there is more likelihood of voltage drops across the length, so there may have to be more power injection points. I’m going to try to do just the ends, if that doesn’t work and there are obvious brightness issues in the middle, I’ll insert another power point in the middle.
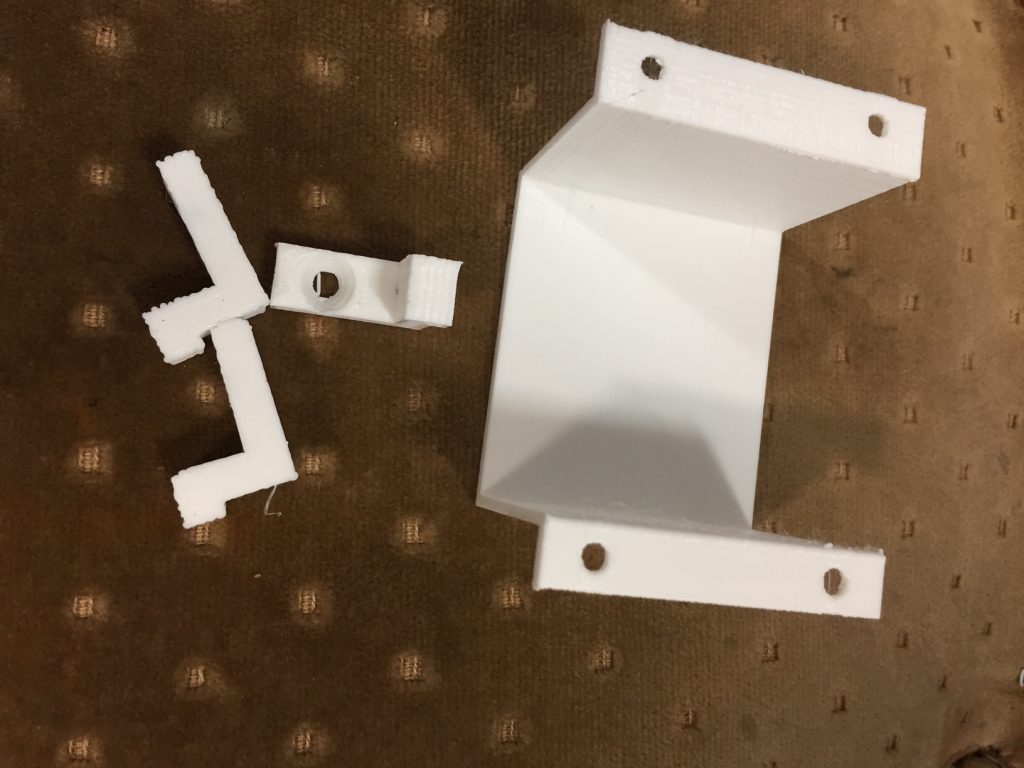
Included with the LED strips are a handful of mounts to use to hang the strips, but they are too few and will not work in the location I want to put them so I designed and 3D printed some to make the mounting hopefully easier and better. I also plan on putting the power packs under the eaves instead of trying to run long power runs so I needed to be able to mount them. I will have to water proof them but they should seal up with some effort. The strip mounts are on the left, the power pack mount on the right in the picture above.
These are already setup and tested so the next steps are designed a 3D printable housing for the D1 Mini to go under the eaves and get out and start mounting the strips with some help. Updates with install pictures and results eventually… hopefully before Christmas!
I picked up the super common, super cheap Harbor Freight sand blasting cabinet to replace the really small one I had recently. I had already found a lot of videos on how to improve the product with some making lots of sense and some completely off the wall and costing more than the original product.
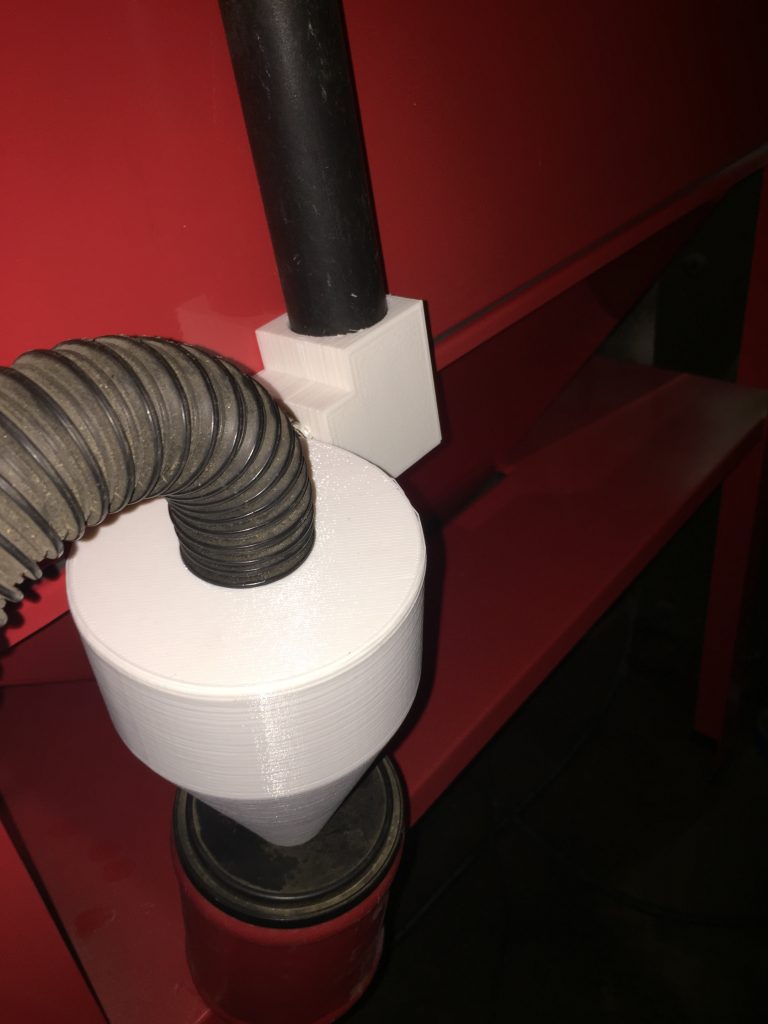
Primarily I knew I wanted to 1) Added a metering valve suction feed instead of the pipe that I always had problems with in the small one, 2) Move my small shop vac dust collector setup over to help keep it clear inside, and 3) add some type of dust separator to avoid filling up filters or bags too quickly.
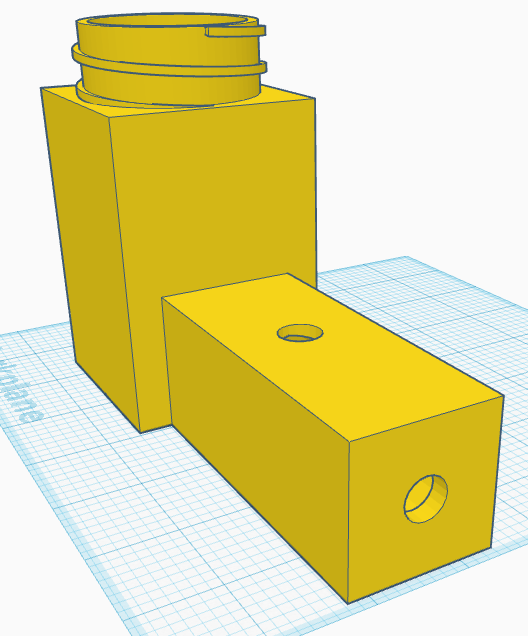
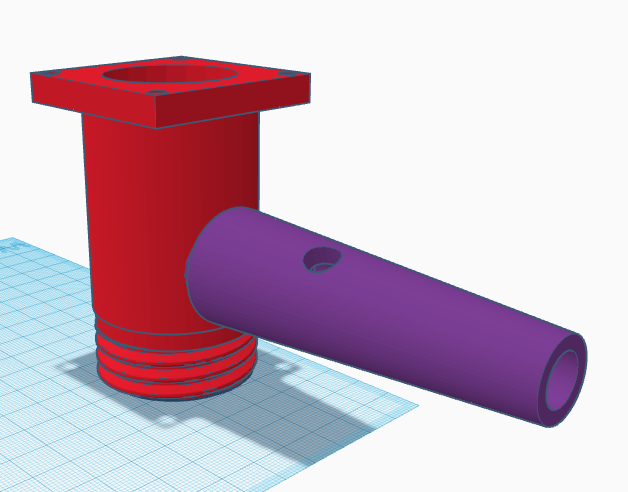
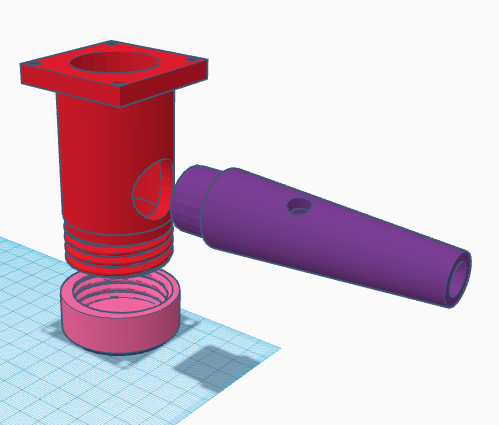
After looking at the options for metering valves online, they seemed really simple. However, searches on ThingiVerse and around the net really didn’t result in any 3D printable solutions that I liked. So I fired up TinkerCAD and played with some options.
My first clunky design likely would have worked BUT I wanted it to look a bit better and have a better tapered feed to the output so I started from scratch, found a pipe and threaded cap that seemed to fit the bill and added the features I thought were needed to make a valve work.
The final design looks better and likely will work better in the long run. No telling, the plastic may get ate up from the aggregate flowing through it all the time but the cool thing is I’ll just print another one when/if that occurs.
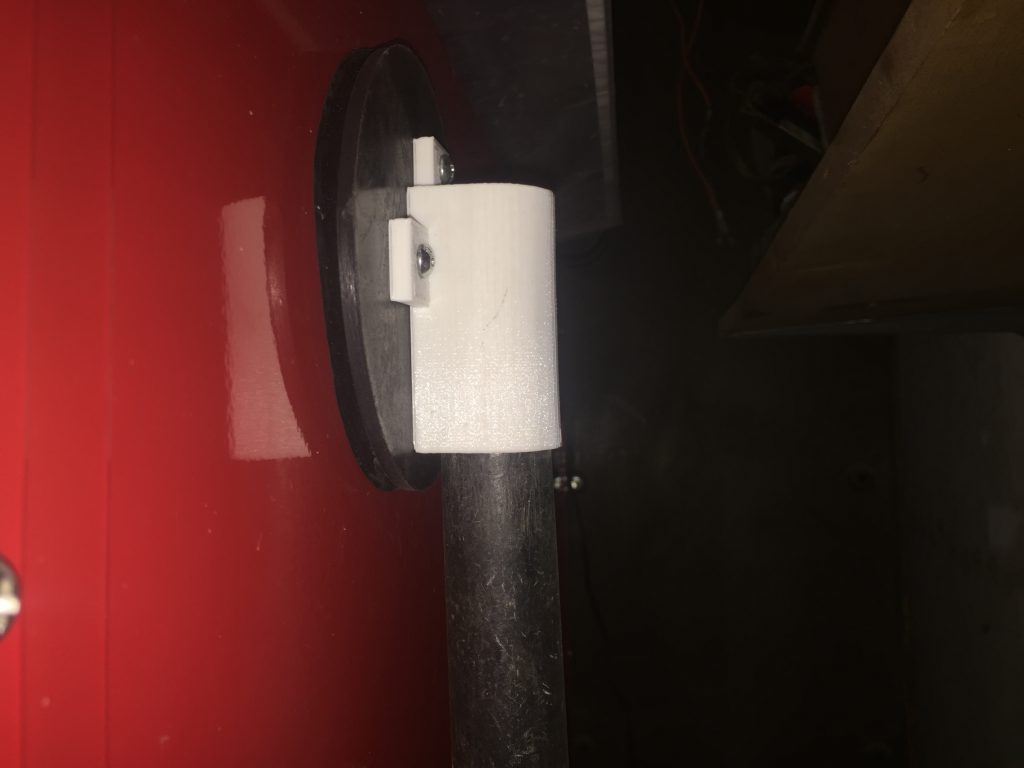
The shop vac exhaust was the next step and just required a couple of 90 degree adapters to mount to the exhaust port and then to the dust separator. This seems to be working fine so far but obviously time will tell.
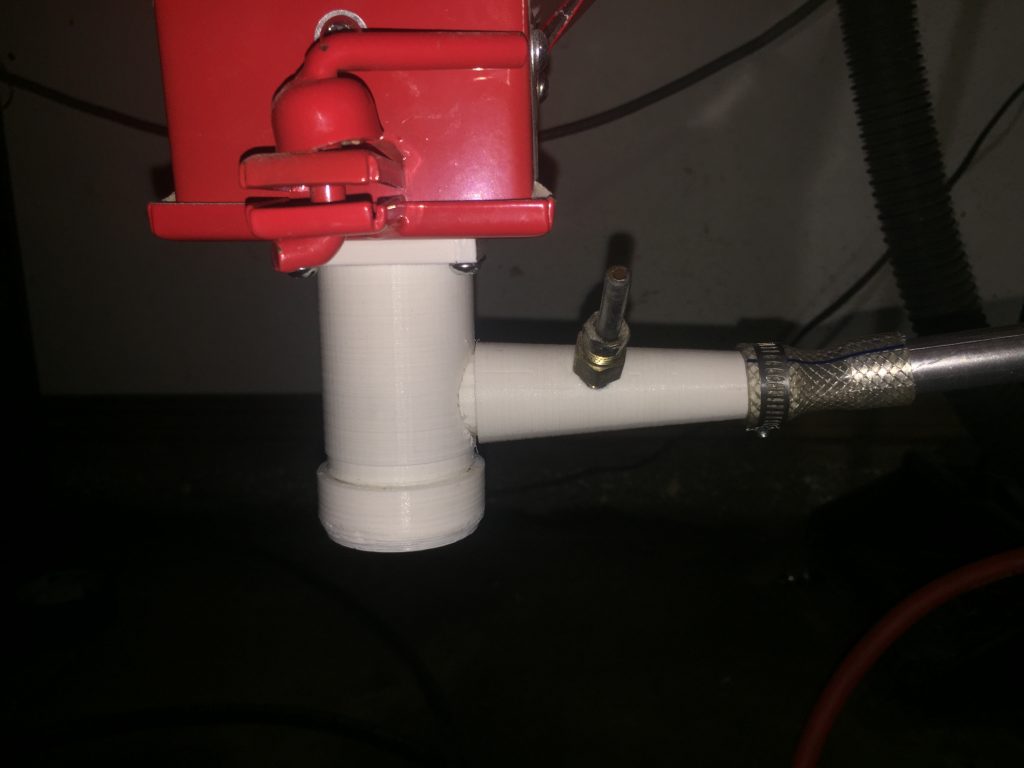
Update 2020-01-19 – Missed an old post to approve (sorry) and saw a new post about this so here is the metering valve part on Thingiverse.
https://www.thingiverse.com/thing:5207020
Have spent time working on my Dad’s old B4000 truck I recently acquired from our son. It’s a great little truck with just a few things needing attention. Pictures and details here
After a long time of cleaning part, buying parts, prepping parts, and testing parts the 1966 Galaxie 500 is back on the ground with an update 3.55 9″ posi unit and a clean and undercoated bottom. More details in the link.
Galaxie 2019-09-02
On 08/11/2019 I watched the famous (infamous?) Frenck (http://www.youtube.com/frenck) live stream his work on a SDS011 Particulate Matter Sensor. I had already noticed the sensor in the ESPHome support list but Frenck was taking a different approach. He was live streaming getting the device working for the Luftdaten.info project of tracking air quality.
Read More Here
Jack of All Trades – Master of None
Pretty much sums up my life and I have no apologies about it. I’ve enjoyed many different hobbies, have become good enough at most, and hope to keep on keeping on for some more years or decades before I’m done.
Here you’ll find information from 1/24 scale plastic models to full scale cars being built. From old bicycles to old bicycles with 1 kilo watt of electric power. From simple electronics to a smart home that has been “Online since 1999” – long before many were thinking of ‘connected’ homes.
I have built many little robots, big RC mowers, have a couple Trail 70’s being restored or rebuilt. I have a smart home that knows when I’m here, can listen in different apps and handle things when where are not here.
I have way too many 3D printers that have all been built, designed, or modified by myself, and even some old time stop motion animated “brickfilms” for you to enjoy.
Poke around – you’ll find many different directions, unfinished projects, and a mess of other ideas floating around here.
