October 2013
First off – Tips from a Noob
- Clean your taped bed with alcohol
- Double check belts after breaking in
- Lock down bed nuts with nail polish or similar
- Clean hot end with paper towel, etc to wipe the plastic snot off
- Do a “Pre-Flight” first of the day and MUST DO after any changes
- Keep bare fingers away from hot end – it does burn skin quite well
Yeah, those are all already out there but seems I have to learn the hard way.
Printing Parts – One Month
Don’t worry, I’m not going to post a new entry every month or so from now on. Just thought maybe it would be worth talking about the first month of owning and using a 3d printer. Like anything the first days/weeks/months are the most exciting and likely after a while things settle down to reality. What I am happy about is the first week was not torture but was a pleasant surprise so far. The first month has helped me learn the fine tunings needed and opened my mind to some simple uses for the printer. I’m sure there will be some issues to deal with later that will make me lose some hair, but so far, so good as they say.
I have no doubt the the first weeks and months success is from the help received here at LMR from the smart printer heads like jinx, ossipee, hoff70, birdmun, Jerz and the others that helped clarify things during the muddy waters. Without their input, critic and questions/answers I would likely have been “out there” still trying to get things working better.
Things Learned
Listen, read, learn… and then do it all over again.
Like anything new it’s all confusing at first, so listen to other experts, read all you can about the subject, and then give it some time to absorb. Then start all over again. Likely it’s just me but I literally had to run through the various resources found online several times for it all to “stick” in my brain. Slowly the bits and pieces, configuration information, processes, etc starting hooking up together and making sense. I still know very little of the best practice but I know the basics now so the rest can slowly fill in the blanks.
Measure Twice
Or three or four or twenty times. When calibrating it takes precise measurements and the understanding of what you are measuring. When adjusting my X/Y scaling I would print/measure/adjust and get some results, but until I actually did a measured calibration on the extruder setup it was all wasted as pushing too much plastic was distorting the output. Yes, I thought I had do it right but until birdmun provided his calibration tool and I then went online to understand it more, I wasn’t coming up with the right number. In my case, the hobbed bolt was cut pretty shallow, thus the “normal” 7mm diameter hobbed bolt value was off enough to create some issues.
Clean Your Bed
Although the first several prints seemed to hook up to the blue tape rather well, I noticed that was not always the case, even after re-applying new tape. As mentioned by many online, I broke out the rubbing alcohol, did a bed cleaning between prints and it hooked up great. Of course my blue tape was from our garage and we do a lot of car stuff there so it could be contaminated from that environment but still, cleaning it up seemed to insure a good first layer stick. Still a couple smaller prints having some issues but I think the bed is still a bit off level which is the other rule, level your bed… and Lock it down.
Check Your Z
Jinx wasn’t happy with my Z layers, inconsistent, etc. The scale was perfect but layers just didn’t look consistent. He immediately knew what it was, Z spring capture was not tight enough. I re-loaded the mount and compressed the springs as much as I could and the issue really cleared up. I may need to get some stiffer Z springs someday to insure it’s tight enough to work well but not too tight to blow up the bed if, no, likely WHEN I drive into the bed again (you’ll understand shortly). But thanks to jinx that issue seems mostly resovled.
Problems Resolved
There are a few things that I am still trying to clean up to get better long term prints.
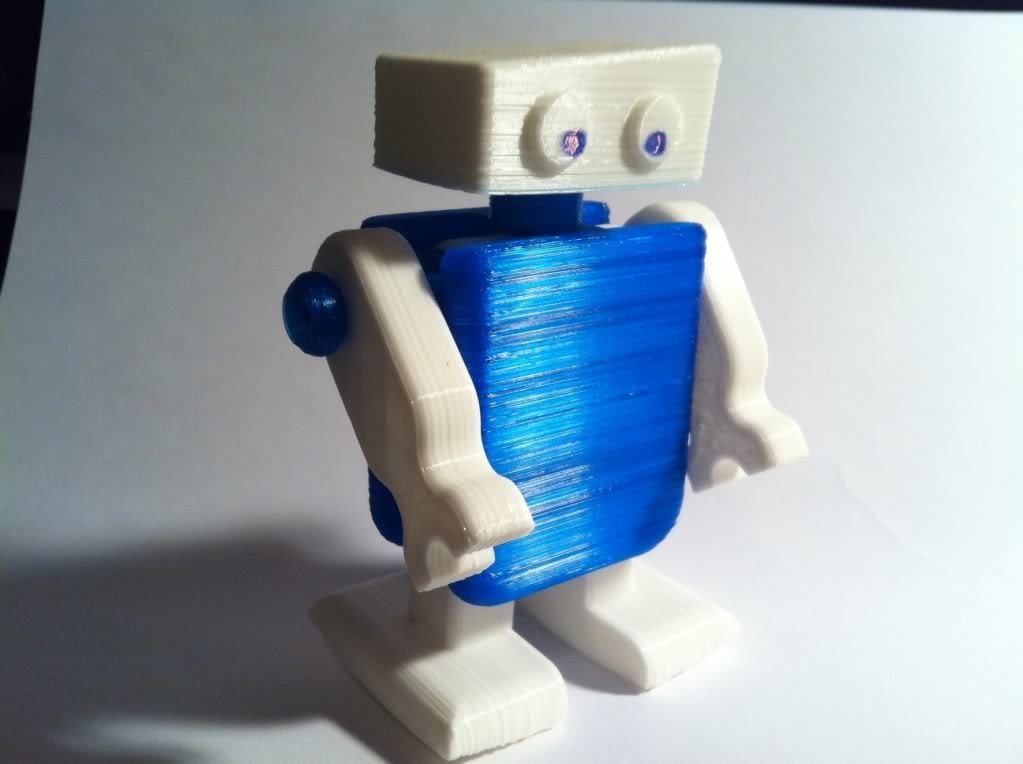
- Overhangs
Overhangs were a major issue at first. You can see from the comparison below, the first print on the left had a little bit of a problem with overhangs or sags… ok a LOT of problems. After that print I rounded up the overhang test object and began the research. The two things I found the most useful was to lower the layer height to .20mm, slow the extruder slightly, and insure there is good cooling flow form a good fan duct on the part. What was happening is the overhang was apparently not cooling enough, the hot end comes back around and heats up the thin area and “lifts” it during each layer. The fan cools the part faster and the slower extruder lowered the flow rate to keep it from lifting so bad. - Bridging
Bridging isn’t quite as bad of the overhang issue but it is there. The first layer of a bridge just droops down from apparently similar issues with the overhangs. I did adjust the bridging speed a bit in slic3r and combined it has helped the situation. Additionally the changes for overhangs obviously helped the bridging issue. - Oozing
Every printer will ooze a bit I guess when sitting still from what I’ve read and hot end temps play a big role in that. Some have said to lower the temp to keep it working clean but anything below 180 on my printer begins to create other issues such as rough fills and possible extruder jams. I do not have something to precisely measure hot end temps so the thermistor may be slightly off. - Kapton Glue Gunk
For some reason the kapton tape glue appears to be slowly seeping out of the hotend wrap and messing with my long prints. I have to “wipe it’s nose” between prints, which is smart anyhow I imagine. Resolution will be to buy some new, hopefully better tape, and clean / retape the hotend. - Slic3r Errors Beware
If you have a part that has a load of slicing errors or “fixes” beware. It is very possible that the part is not going to print right. Some do, some don’t. I like the newest version of slic3r that lets you view the model to slice as you can generally see the errors from my experience. Repetier has a nice visual as well. - Do a “Pre-Flight” check after making any changes
After waiting for a while, I finally decided to add an adjustable Z stop. It wasn’t really needed but I figured it would make things much easier to keep the bed height setting correct over time. So I printed a couple different versions and finally picked one out to use. Actually the one I wanted to use keep having slicing errors which continued to show up in the print so I used my second favorite one. But after mounting it up, changing out the end stop mount to work better with my switches, etc and making sure I was way high for the first Z homing I hit the Z home button but had NOT done a complete once over on the printer.
The head lowered just fine… and kept lowering, and lowering even after hitting the end stop, WTH? I killed the power on the ATX supply, which didn’t really help as the power supply has ample buffering to keep running the printer for several seconds so the print head drives itself into the bed until it finally runs out of power. Ugh. I had failed to actually hook the Z end stop switch back up so yeah, it hit the switch but it didn’t know it hit the switch. It moved enough into the bed to knock the lower Z nut out of the holder and when I did move it back up I lost all Z settings on both sides and had to go back to ground “Z”ero for setup and bed leveling.
Fortunately nothing damaged and lesson learned. Do a GOOD once over after major changes or adjustments, check wires and then double check if you don’t want to start over.
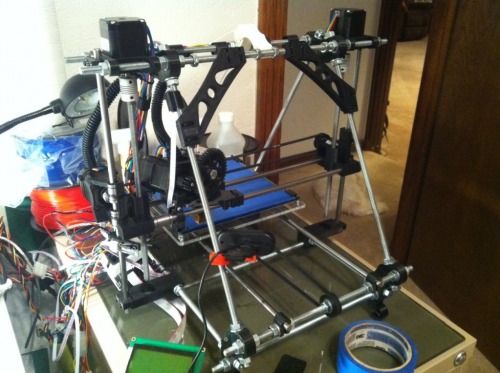
Printer Improvements
So enough learning and basking in the glow and smell of a working printer. What have I printed? LOTS of calibration stuff mainly as expected but I have managed to add some “enhancements” to the printer which were the first things I wanted to output anyhow. Mostly simple stuff like this:
- Filament Guide http://www.thingiverse.com/thing:62387
This is really handy and useful for my needs. Since I built the cheap spool holder and keep my filament behind the printer it works great to keep the filament from snagging on the threaded rods, etc. - Ramps Fan Mount http://www.thingiverse.com/thing:49235
Really needed to get the RAMPS fan mounted somehow, found this simple clip on version and happy with it so far. - 40mm Cooling Fan Mount http://www.thingiverse.com/thing:20830
Wasn’t sure how much I needed this but it was a good test for wall thickness, etc. Still had a fat extruder so it’s too thick but worked out ok. I ended up moving to a slightly different, more directional one but this is a good start and easy to mount. - Surprisingly Quite http://www.thingiverse.com/thing:21855
One item that really surprised me were these noise and vibration dampeners. My print really isn’t that noisey with the RAMPS boards adjusted correctly but it is sitting on a plate of glass on a metal filing cabinet so it can resonate sometimes. Not loud enough to be heard outside the room but you know it’s running. Once I printed and installed these you can barely hear it working away. I think I could go to sleep in the same room without noticing it anymore. - Extruder Guidler http://www.thingiverse.com/thing:20711
As noted in my build blog, I had some issues with 1.75mm filament guide tracking and have my home grown solution working well. I am also not overly happy with the sloppiness of the extruder and hinge so believe I’ll build up another extruder over time. In the mean time I may give this guy a chance, especially with the obligatory skull decoration.
I also printed up this herring bone extruder gear set that I will use on the next extruder. This was the first larger print and personally I’m happy with it at .40mm layer height. - Wire Management http://www.thingiverse.com/thing:12369
These are super handy for managing wiring running up and down the frame rods. They clip on the rod, have plenty of room for wire and then clip shut to keep the wires in. Nice design.
One last thing – Thingiverse.com is Huge
It’s so easy to get lost in Thingiverse.com and forget what you were there for. Even just trying to find a simple way to mount your RAMPS board to your Prusa I2 comes up with a multitude of different methods, idea, and solutions. I’m more of a minimalist I guess as I tend to gravitate towards the solution that takes care of the problem without a lot of overhead. I.e. I didn’t need a huge box, plate, hooks, etc for my purposes for a RAMPS mount. A two C-Clip version seemed adequate. But to get to that particular solution you do have to wade through the thousands of other options.
Also you can tell that MANY of the designs have not been printed and are not “print ready” by any means. Things that float in the air, are inverted from the ground, etc, are not going to print cleanly without adding supports, which are generally a pain to remove I have found. With that in mind, I’ve used TinkerCad.com to load up the STL, move it around, lower it, etc and then download that file to print. Has worked for me.
My Designs
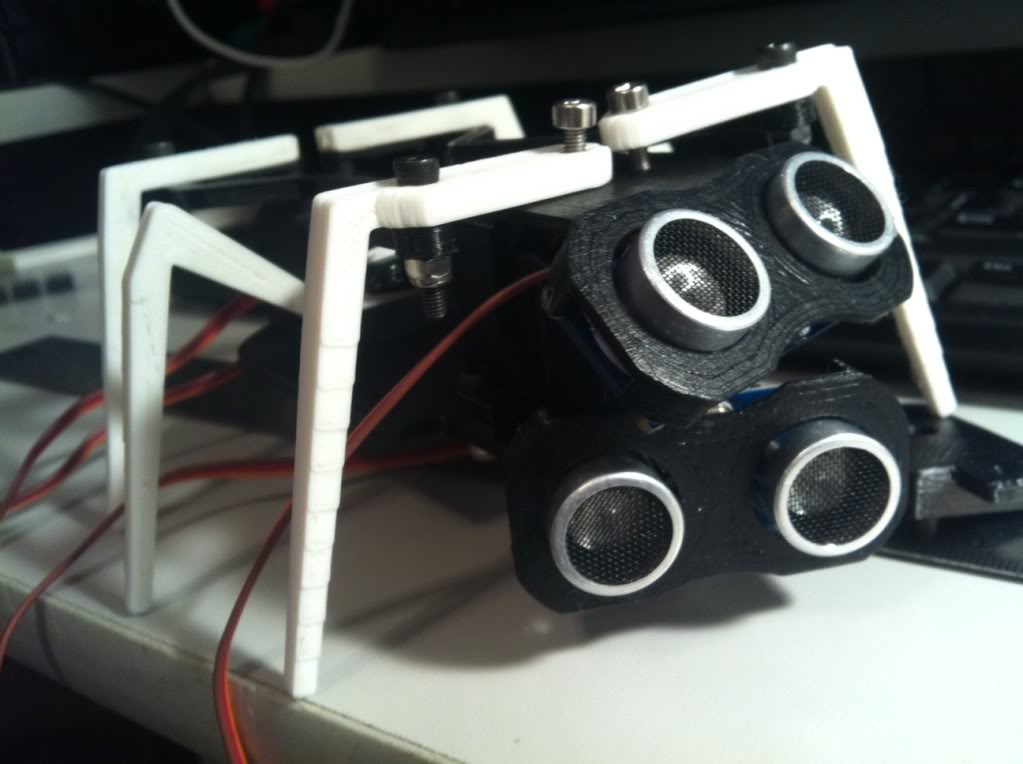
I am not, in any way a 3d designer, so when Hoff70 turned me on to TinkerCad.com it was very interesting. Soon I figured out that even *I* could design some smaller items with the geometrics available there. I tweaked a few Thingiverse items that were unprintable and have designed a small bot chassis and GM-15 motor mount setup and ProMini mount for it. Quite simple. Next is a larger platform for some huge servo wheels I printed. We will see how that turns out.
What’s Next?
Well the new hasn’t worn off yet so I’ve played with printing many different things. I’ve also played with the colors white, black, red (translucent) and still have blue and clear to load up and play with. Overall I’m happy with it although I am catching some critique from printer experts here about Z lines, calibrations, etc that are helping to improve the overall print quality. So I guess it’s still not “good enough” – but hopefully it will get better.
The ToDo List
- Get heated bed working DONE 2014!
Need to get a thermistor, wire it all up and test but figure it’s there I should be playing with it long term. - Wire up some lights
I’ve printed out and mounted a couple LED type illuminators but haven’t added LEDs yet. I have a web cam on the printer so I can check on the print from the other room or around the world but currently a big hot lamp provide the lighting. LEDs would be much cooler and provide a less harsh light. - Get LCD working
I have a SainSmart LCD that came with the electronics and have not been able to get it to work. Loads of searching, testing, etc but no luck. Eventually it would be nice to have working. - Add Emergency Power Switch
After the bed fiasco I know I need a kill switch that kills the power between the ATX and the RAMPS. Already printed a mount, just need to put a double pole switch in and wire it up. - Organize Wires
I printed some wire organizers that work pretty well, just need to clean up the wiring after adding the power switch. - And more…
I’m sure other things will come up along the way I want or need to do, just part of the fun.
