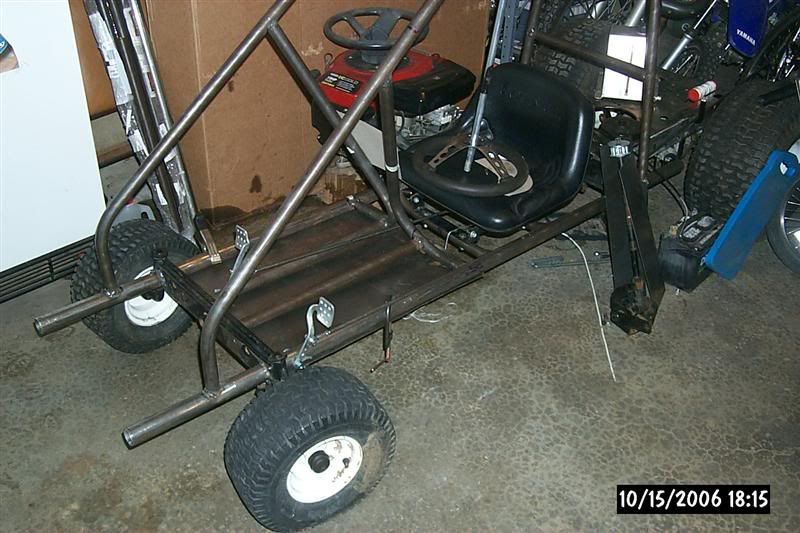
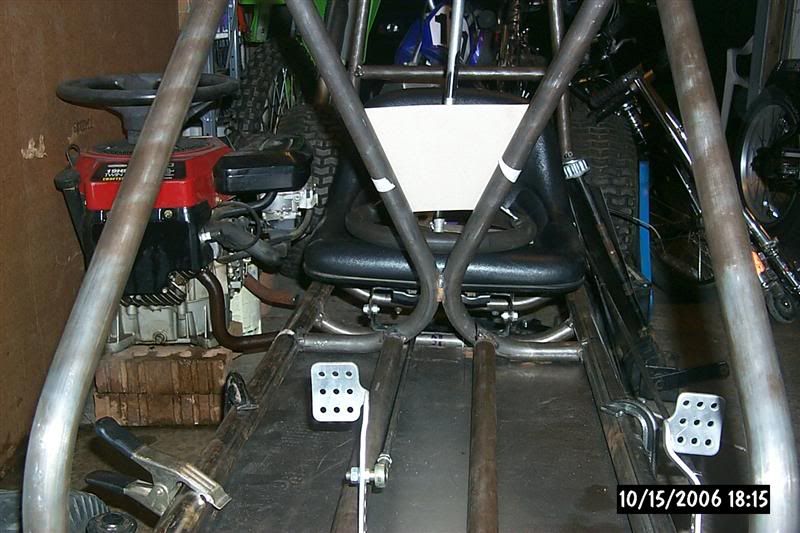
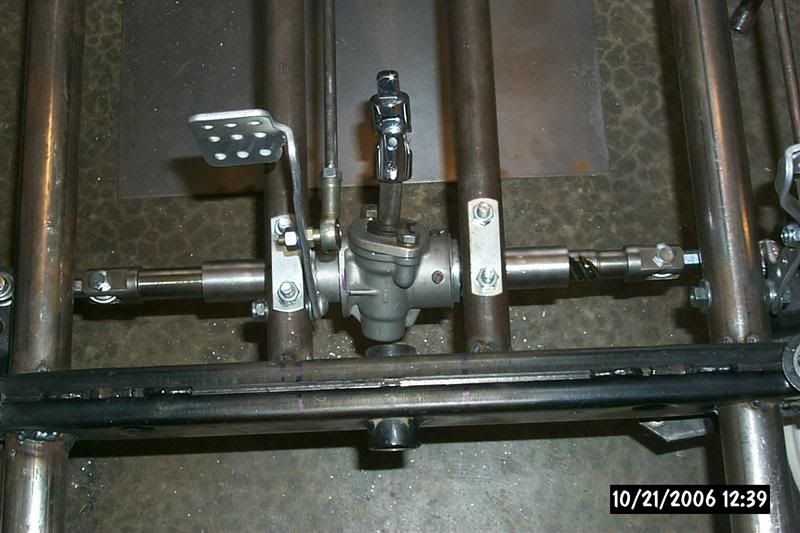
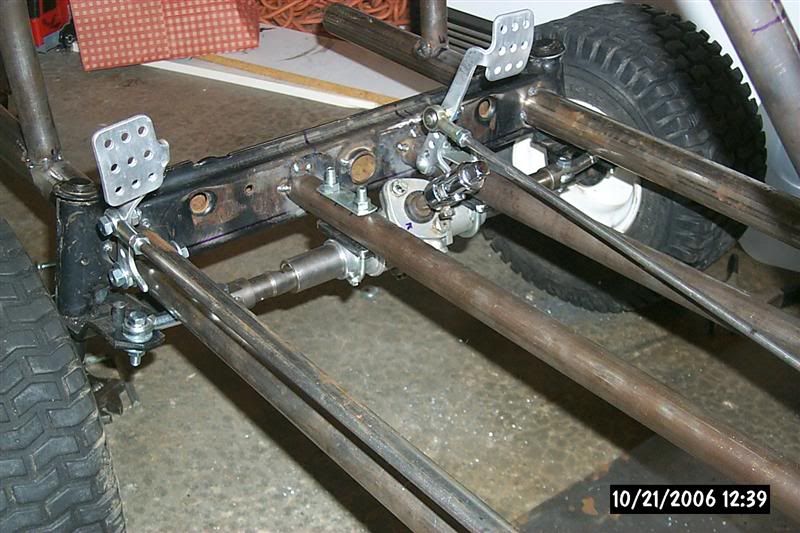
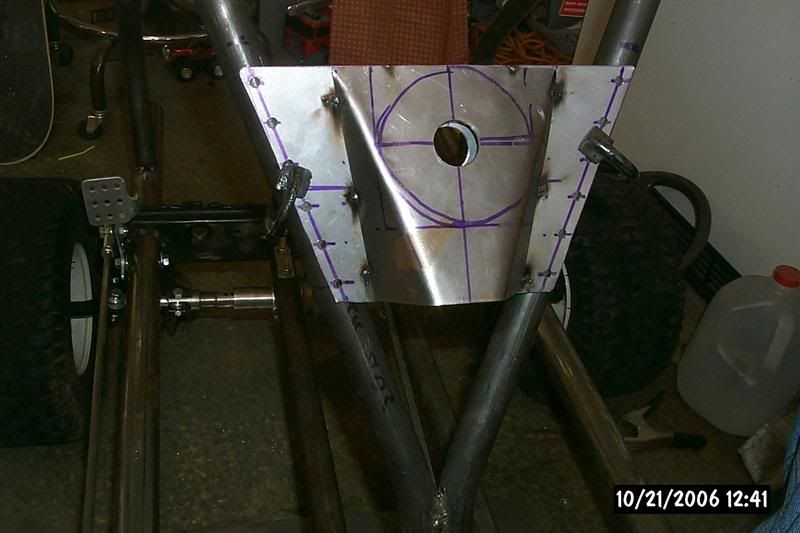
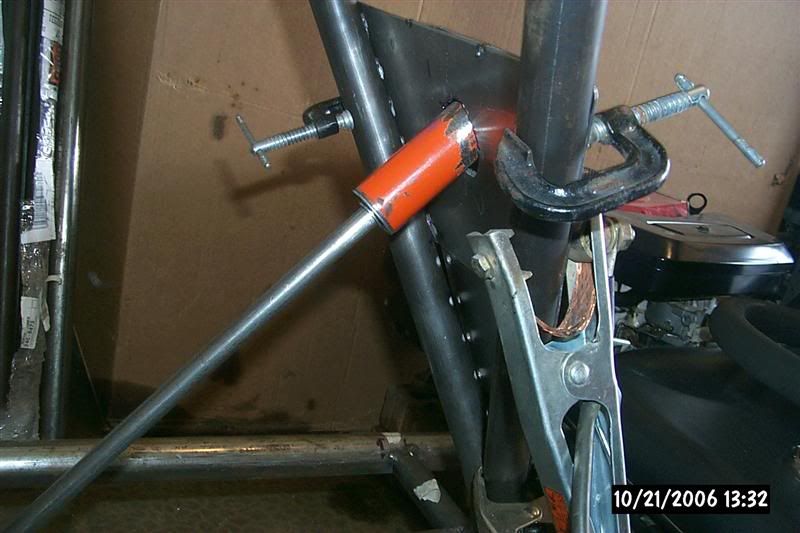
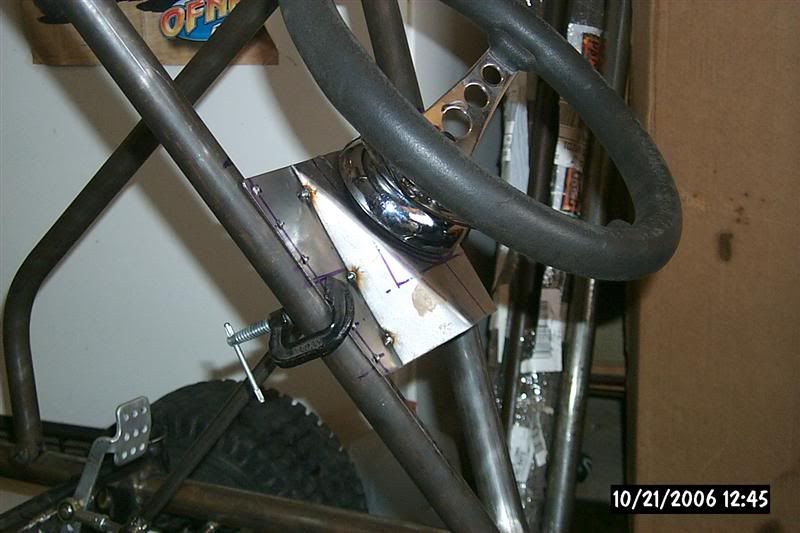
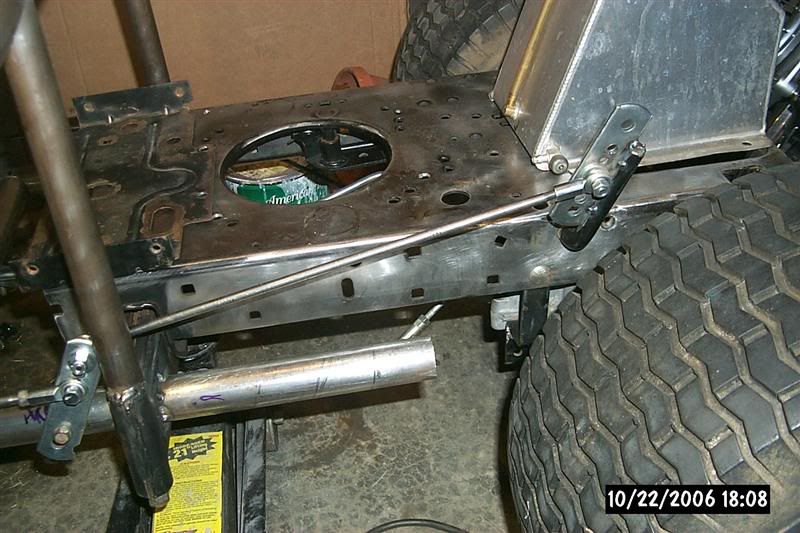
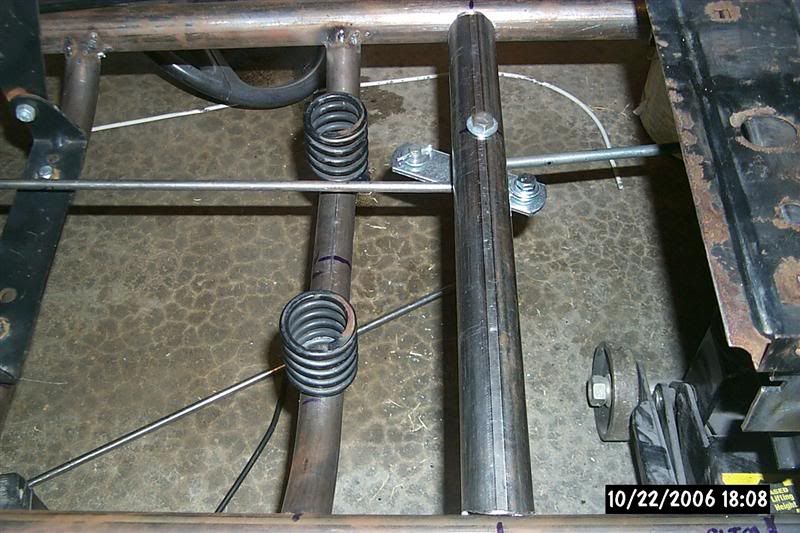
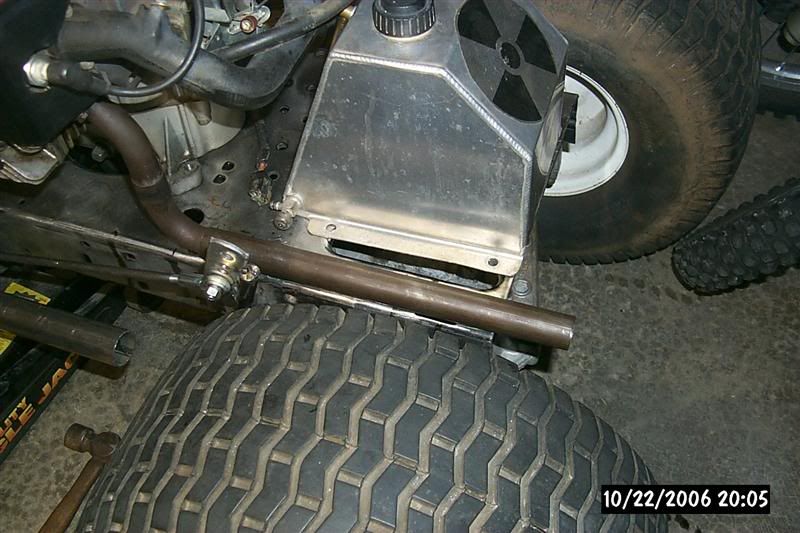
Side shot of the steering support bars in place. The lower bars run from front back to the steering support bars.Front view of the steering support and template for the steering wheel mount. Not perfect but it should work and looks nice with the curves.Rack and Pinion mounted to the lower bars. Ended up with some u-bolts that allow adjusting the angle but still tighten down quite well. I had to add an aluminum tube over once side of the rack since it had different size tubes on each site.Back shot of the rack and mounting. Still need to get some type of boot to cover the rack ends but all is working. Yes that is a 1/2″ socket swivel for steering. With U-joints being $30 to $60, this seemed like an affordable solution.Steering and dash panel top fitted. I ended up bending the top section to allow for matching the angle of the steering rod and make it look better.Top shot of the steering solution. There are bearings in the top mount and the bottom of the steering tube as shown in the next pic. A salvaged 1/2″ socket snaps into the swivel at the rack.Bottom shot of the steering mount/dash top. The steering tube is some pipe from an old hand dolly with a bearing in the bottom of it. A collar (not shown) is used to keep the shaft down on the rack.View with the wheel attached. The top has another old 1/2″ socket welded to the steering wheel underneath. I drilled and tapped a hole in the socket and the steering rod so it locks down. You slide the steering rod up through the mount, mount the steering wheel to the rod, snap the rod onto the swivel at the rack and then use the collar to keep it from moving up.Test fit time.. the steering wheel should work for both small and larger riders with the adjustable seat. Steering is nice and tight but turning radius may be an issue. The rack moves the wheels just perfect to keep them from rubbing the frame BUT with the long wheelbase it may not turn very sharp.Clutch linkage setup. The mount is now tacked to the belt clutch release lever with various holes for adjustment. Not sure exactly where to put it until I get a belt the right length. Still hoping the idler pulley will work properly with such a short belt and high gearing.Brake linkage in place – The brake needed push action to activate the small disc brake on the tranny. This lever converts the pull from the brake pedal into a push action for the brake and hides under the seat.Straight Pipe Anyone? Left side exhaust fabbed up. I re-used the cut off sections of the old pipe that dropped down into the big muffler and inverted it to route the 90 degree turn. Some 1 1/8″ pipe runs it out the back. I’m sure we’ll put a muffler on it eventually but I have to see how it sounds without one first.