Throttle Pedal/Cable, New Computer Location, Vent Work and Wiring Needed
Note: In the end I did NOT go with the EFI setup and kept the car old school carbed.
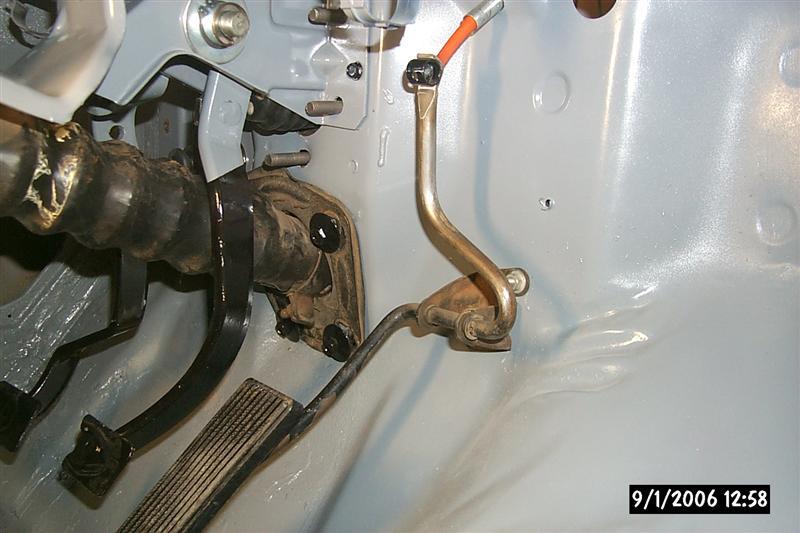
Picked up a 5.0 throttle cable off ebay and made it work. The mounting tab was quite easy as the top bolt hole lines up with the single hole for the original cable. You just need to bend the mount tab to match the firewall and drill a new hole for the bottom bolt. (yet to be done here)
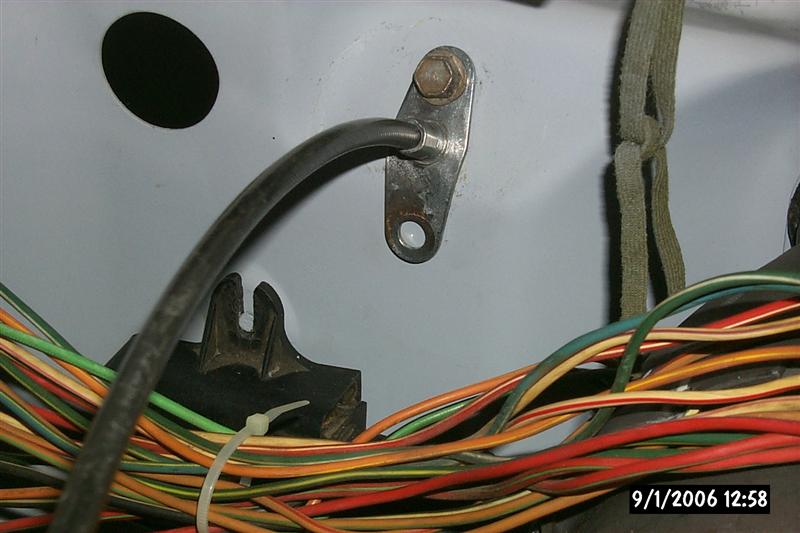
Inside it is a little more difficult as the 5.0 cable has a small end and the ’69 had a large barrel end. I took a piece of small pipe that fit the curve of the connection, made a cross cut and then a vertical cut allowing the cable to slice over and down into a position keeping it from coming out. The orange silicone host is there to keep the cable centered in the pedal support and preload the end to keep it stable.
The biggest concern is the throttle pedal height. It really appears pretty high with this cable. Might have to bend the arm down some to make it right.
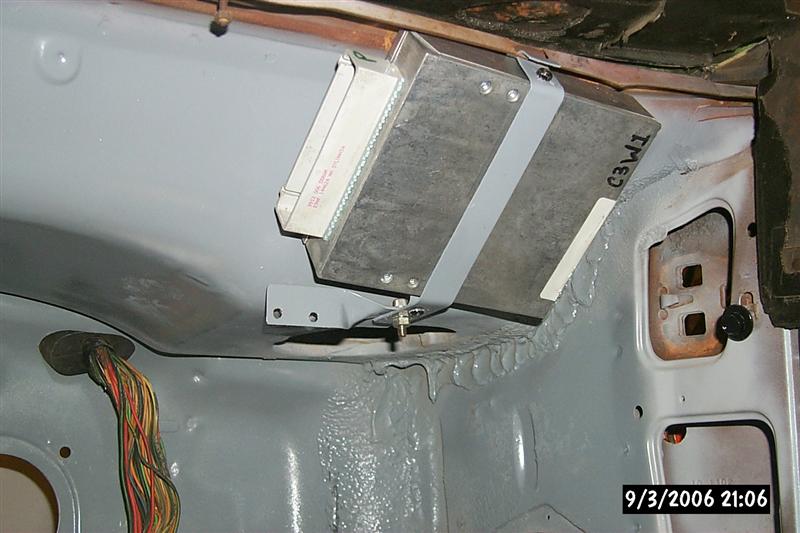
New computer mount location. After looking at mounting the computer behind the heater box I changed my mind since I might be purchasing a full blown AC/heating unit in the future that would use that space. Additionally it would be quite difficult to get to the computer for any maintenance or future performance enhancements.
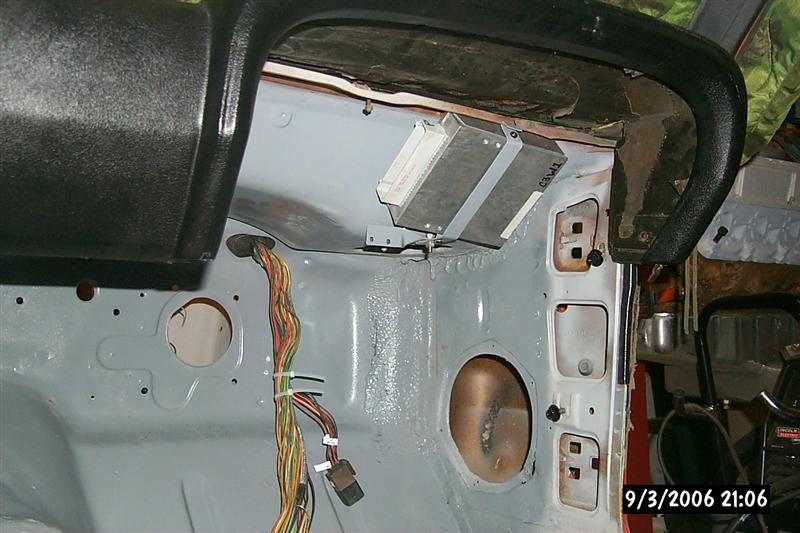
Wider shot of the computer mount where you can see where the dash will be mounted. Since this panel is easily removed for access (I always left out side screws in the past anyhow). The ECC and O2 power relays will mount on the small custom mount tab below the computer which will also hold the final wiring harness. The strap is simple sheet metal that wraps around the computer with rubber feet isolating the computer. A rubber bumper is also used on the far end of the computer to insure it is stable at all times.
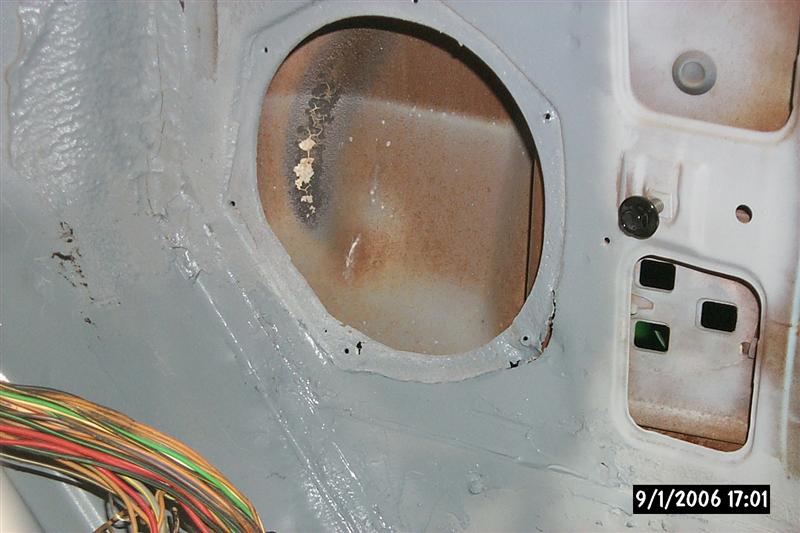
This is the passenger side vent that needs some repair. At this point I think I will simply weld up the holes, reinforce as needed and Rust Bullet it all to keep it clean in the future. The vents will then be sealed in using silicone sealer instead of the crazy foam gaskets used from the factory.
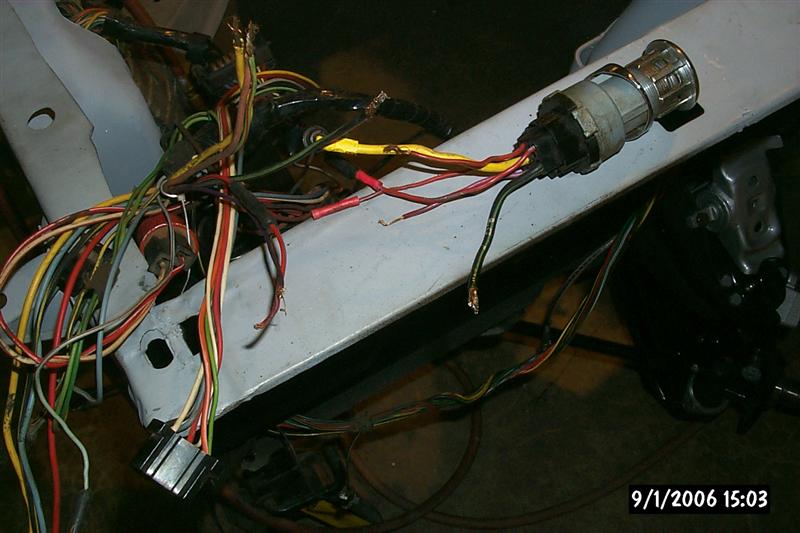
I do not remember doing this but I may have forgotten things over the year. It appears the starter switch and connection was replaced at some time in the car’s history. All the connections were wrapped/ crimped back together and the gauge on the switch is noticeably larger. In any manner re-solder and shrink wrap fixes are in order.
